Battery leakage cleaning
I’m quite sure anyone who has done even the slightest bit of electronics repairs has pretty come across battery leakage damage. On such a case, some internal battery (realtime clock, memory refresh etc.) has leaked all over the circuit board and corroded traces, component feet or even the board itself! This corrosion can cause poor conductivity (increased resistance), short-circuits or cuts on signal paths. I deal with various types of board repairs all the time, so I thought maybe my methods of cleaning up these leakages might be off interest to someone.
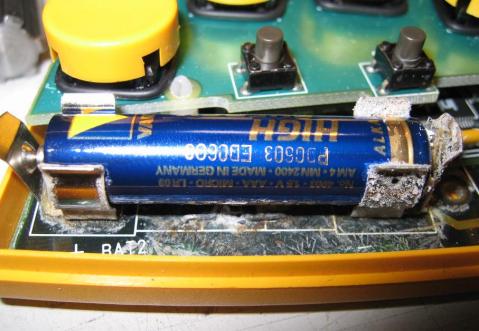
The case I’m about to present was actually a user-originated fault and not the more traditional type of leakage case. Nonetheless, battery acid all over the board and it had had a bit of time to work it’s magic. What had most likely happened in this case was that the end-user had replaced the internal rechargeable batteries with regular ones (the device has a built-in NiMH charger). Not sure how long the unit had actually been in use after the batteries had started failing, but the corrosion suggests it did’t happen overnight. There are two batteries inside the unit, both were rather similar in appearance, thus I’m focusing only on the left-most one. This is how the internals looked like after opening the casing:
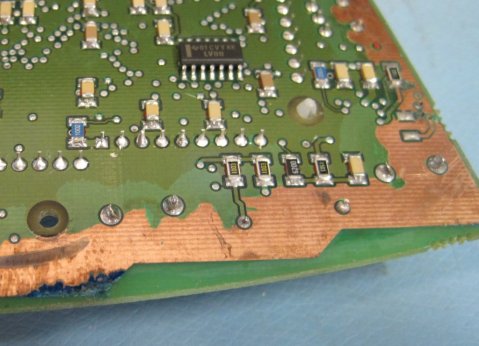
Pulling the board out, it became evident that the spill had run all over the edge of the board on the lower side. Especially the temperature monitoring resistor under the battery had taken it’s share of the acid..
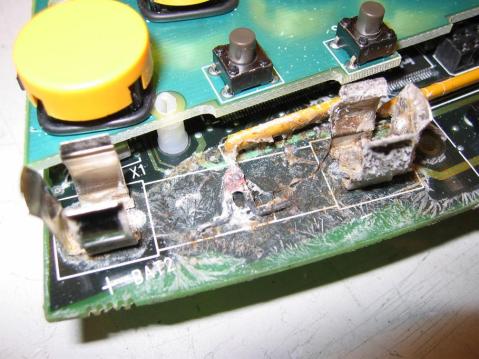
..and this came even more apparent after removing the battery. Ouch! :)
On to the repairs then.. Luckily, on the lower side it was mostly only the green protective paint that had corroded. Cleaning up was only a matter of removing the spills and loose paint. This mess came of simply rubbing with a q-tip soaked in rubbing alcohol (isopropanol)..:
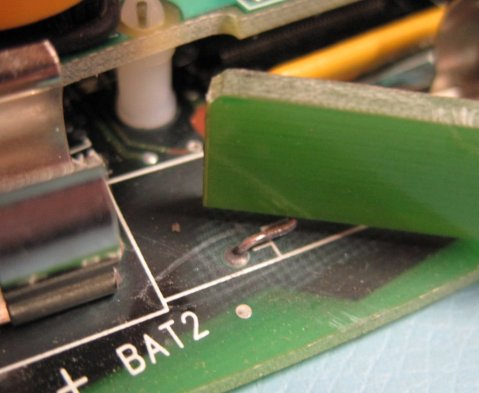
The upper side needed a bit more work, I had to carefully scrape off some of the spills prior to isopropanol treatment. One method I like in particular is to use the edge of a glass fiber circuit board for scraping. This has some resin in it that cleans up oxidized / corroded surfaces pretty neatly. Furthermore, the pieces are easy to find, say, cut a piece from whatever empty board you have and you have a tool in no time! So first, scraping off corrosion with a piece of bare circuit board:
As you can see, the spills have already been removed so the battery terminals and the board surface are clean. Just for a clearer view, here’s a scraped foot (left) vs. a corroded foot (right).
It’s also worth noting that the battery acid has already started eating it’s way through the surface of the board. Had it been left on the board, it would’ve found it’s way to the in-between layers (the device has a six layer board) and this would’ve surely made the repairs a whole lot harder or even impossible!
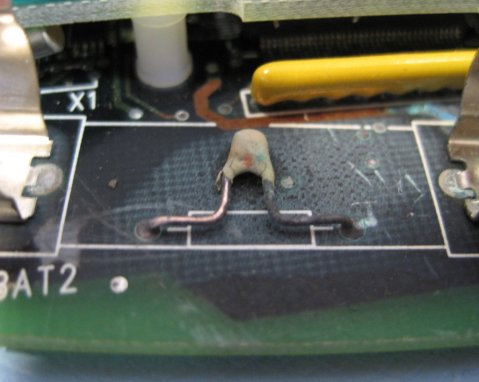
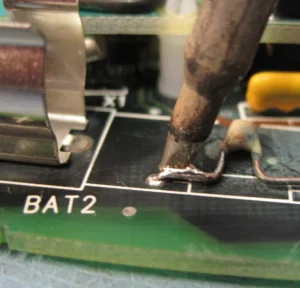
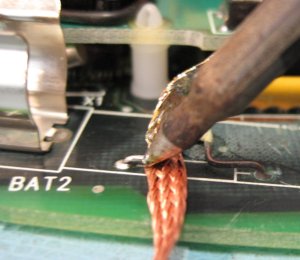
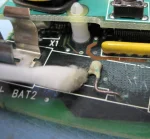
Anyway, after most of the corrosion has been mechanically removed we can solder the bare foot. With the help of the flux in the solder, this burns away remaining corrosion while coating the bare surface. After this the excess solder can be removed using a solder wick and flux residues with a q-tip soaked in isopropyl alcohol..:
And presto, the cleaned surface vs. a scraped and still partially corroded one:
..although in reality, I would’ve probably swapped the whole part. As the ceramic coating is cracked the life span of the part is probably much shorter.
Just for the record, I did the cleanup to practice these methods and never even considered that this device would find it’s way back to the user. Given the amount of time needed to repair this device to something that’d endure everyday use, it was far more cheaper for the user to buy a new device than repair this one. This is why I’m not mentioning anything about additional board repairs, like covering the exposed copper areas with a new layer of protective board paint. All in all, I assume it’s safe to say that the user did learn the importance of checking the battery type after this incident ;)
If there’s interest towards more of these kinds of articles, let me know and I’ll see if I’d have some more methods to share. If you feel like sharing your tips, the comments field here is all yours!




Great article and advice… keep them coming! :)
I have a device that has had a battery leak in it, I have cleaned all oxidation that I can see etc however the device works for a short while then stops working, do you have any tips for me to try?
I do. You should check the board surface near the battery for signs of corrosion. If the spill has had a chance to sit on the board for a longer period, it’s likely that any foils (board traces) left underneath have corroded. For some additional info, here’s one repair I did that had this problem.
If the board has any surface mount parts near the spill, also check the solder joints on any such parts for fractures.
Thanks, good write up.
This was great! Thanks for sharing your experience, I’m finding myself in need of cleaning something up for the first time and needed some advice from the internet