
ProtoTypo PT7 – CMY
Here’s a small mod for Fonitronik Cascade, a 4HP eurorack module that allows mixing, attenuating / inverting and offsetting of three separate input signals (later “channels” or “ch.”). I totally love it for the size, features and price.
The mod brings on-board jumper terminal JP1 to front panel, so that the signal routing behavior of Cascade can be changed without removing the module from eurorack case.
Fonitronik Cascade, JP1 (with blue jumper) next to the board interconnect. Photo by Thonk.
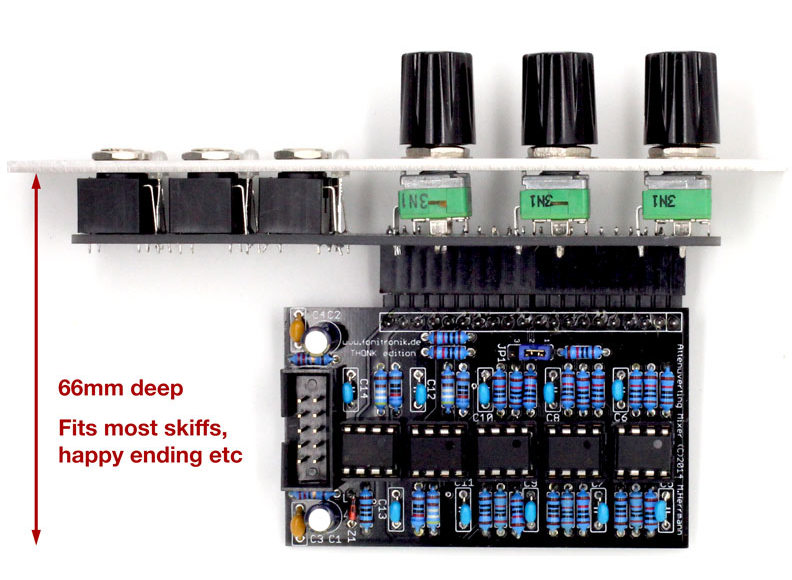
ProtoTypo PT6 – MCV4E
ProtoTypo PT6 is a straightforward conversion build of a Doepfer MCV4 into a eurorack module. I just removed the circuit board from original case, made a matching eurorack panel and gave that some fffuuuugly artwork! Not much to the build so I figured maybe I’ll just run through my magnificent paper sticker panel artwork method \:D/
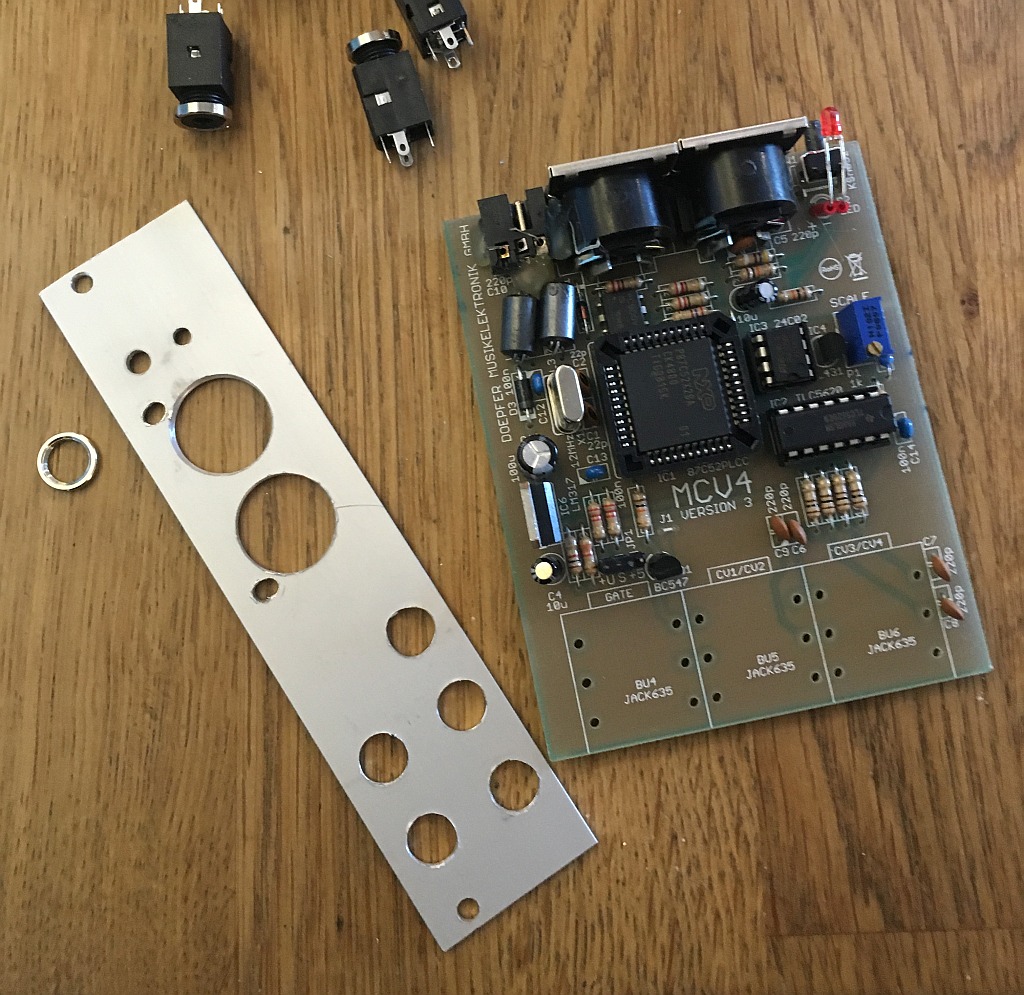
Loose MCV4 circuit board with jacks removed plus the drilled 6hp eurorack panel. Drillwork looking almost not wonky, w00t?!
ProtoTypo PT3a – BUM
Time for the next ProtoTypo build! This is a quick one I’ve been working on during the past week, and for a change I thought I’ll just get the build documentation out of the way while I’m in the zone (noooot!).

It’s a Behringer VMX 100 Dj Mixer. Photo by internet.
LED mods for Arp 1601 clone
Still time for a quick one before it’s ‘BYE BYE 2016’! :)
While building my TTSH I also got myself a DIY kit of a Arp 1601 sequencer clone. The build itself was so straightforward that I didn’t see the point in blogging the details. However I made some LED mods to it and thought maybe this would be of interest to owners of this device. So if you ended up here looking to change the color of LEDs on your Arp 1601 clone, look no further! If you’re in a hurry, check the summary section at the end of this post.
While you can also find my posts related to the mod at Muffwiggler (Muff) forum, I thought my blog here is a more compact way to present the information. For one, since forum threads at Muff are created by product / project, there’s a number of discussions going on at the same time (esp. if a DIY build). So a thread can become convoluted. Second, threads which span years (or multiple production runs of a kit) can become l-o-n-g, adding to the ‘needle in a haystack’ effect. Third, if you’re not logged in the board system won’t show post attachments or the like. So it can be quite the dig looking for information you need.
But don’t get me wrong, I love the Muffwiggler board and a lot of highly skilled people dwell there. It’s just that often the format isn’t good for finding information that you need instantly.
Well maybe my ramblings aren’t either, but let’s not follow that tangent! :D

My finished 1601 build
TTSH, Gate Booster mod
If you’re all new into how analog synthesizers can be controlled, you may first want to take a look at this Wiki article on CV/Gate for some jargon busting. Other than that, let’s dive right in.
Among the first electronics mod I wanted to add to my TTSH was the Gate Booster. To fully open the ADSR envelope generator of TTSH a +10VDC gate needs to be applied, thus in it’s stock config the envelope can’t be fired properly by using eg. any external gear that outputs a +5V gate. Add to the common CV/Gate specs, the TTSH envelope generator also needs a trigger signal (very short pulse) to work properly. This can be used to restart the envelope without disabling gate signal.
So what the Gate Booster does is, it converts low voltage level gate signals to higher voltage and generates the trigger signal from the gate input. The particular circuit board I bought for myself is this modified version (sold by Oshpark) with a socket for a Midimplant MIDI-to-CV/Gate converter board. Having MIDI (keyboard) input just made so much more sense than eg. building a CV keyboard like the Arp 3620.

Gate Booster board all populated..

Recent Comments